0
0
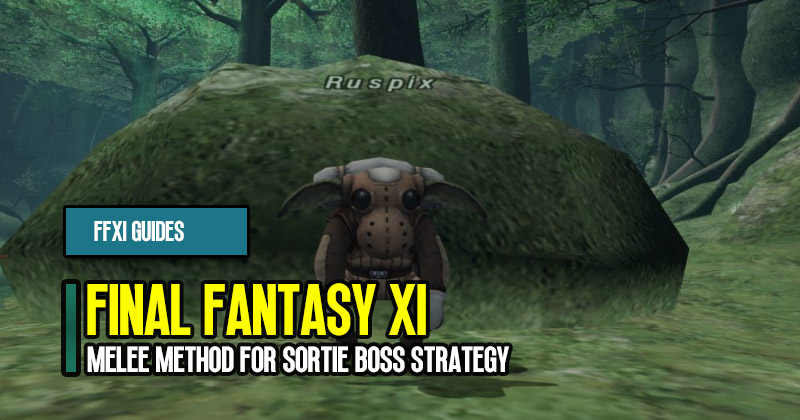
FFXI Guide: Melee Method for Sortie Boss Strategy
Welcome to our FFXI Sortie guide! In this guide, we will show you how to fully clear the Sortie zone, defeat all eight bosses, and collect valuable items and FF11 Gil rewards. While many players opt for a traditional magic burst strategy with Black Mages and Scholars, we believe that a full-on melee approach can be just as effective, not to mention more fun! So, join us as we dive into Sortie and showcase our melee method for conquering this challenging content.
- Basics: Pathing and Job Setup
- Ayeta Boss Strategy
- Collecting Basement Boss Pops
- Botulus - The Mini NM in Area E
- Dartok - The E-Boss
- Naraka - Obtaining the Metal in Area G
- Tribulate - Overcoming the Challenging Boss in Area G
↖ Basics: Pathing and Job Setup
To begin, let's discuss the pathing and job setup for our Sortie run. In our setup, we are running a full DD (damage dealer) party with no tank. Our job composition consists of Dark Knight, Warrior, Bard, Corsair, Red Mage, and White Mage. We follow the H-first pathing method, which means we start with Ayeta on the first run, deliberately leaving AATA alive. This ensures that we have all our two-hour abilities available when we reach the challenging boss, Gartel. Our pathing order is: H (Ayeta), D, C, B, A, E, G, and finally F (Gartel).
↖ Ayeta Boss Strategy
Approaching Ayeta, there are several key elements to keep in mind to ensure a smooth and successful fight. First, let's talk about buffs. We recommend using two-hour songs, including two marches, two minuets, and a blade magical. Despite having a Red Mage in the party, it's still advisable to use two marches due to Ayeta's slow ability, which can override haste. Additionally, Chaos Roll and Sam's Roll (crooked cards) are crucial for enhancing your party's performance.
Debuffs are equally important. The Red Mage should cast Distract III and use Stymie to apply Distract III on Ayeta to reduce his defense. The Warrior can attempt to use Armor Break, although it may not always land. The Bard's role is essential as they must maintain Haste Samba and Box Step Ayeta five times. Furthermore, it's crucial to proc Ayeta with magic of the opposite element whenever he performs a TP move. The specific spells to cast for each TP move are displayed on the screen.
When engaging Ayeta, proper placement is key. Face pull him into a designated spot and wait until everyone is positioned correctly before initiating any actions. As soon as he's in place, activate all your two-hour abilities, such as Soul Enslavement, Asylum, and Mighty Strikes, and unleash your DPS. During the fight, Ayeta may spawn Fetters, but if they appear before he reaches 50% HP, you can stay in them. If they appear after 50%, it's crucial to move as a group to avoid being out of range for Kiraga heals.
↖ Collecting Basement Boss Pops
After defeating Ayeta, head back to the top floor and proceed to collect the boss pops for the basement bosses. Our recommended route is: D, C, B, A, E, G, and finally F. It's worth noting that you may encounter Mini NMs on the top floor, which drop Omen Chests. While these are not a priority, they are a welcome bonus if you come across them during your run.
↖ Botulus - The Mini NM in Area E
Botulus, affectionately nicknamed "Bocce," is our first target. This boss possesses valuable eyes that provide a means to remove poison during the Dartok encounter. To efficiently defeat Botulus without a tank, we employ a Dark Knight strategy. As a Dark Knight, use stun and weaponskills to generate enmity while dealing damage from the back. A stun set with NM Plus and absorb spells is recommended. Assign a player to stun duty to counter Botulus' charm and disruptive moves. Focus on dealing damage from the back to secure the coveted metal.
↖ Dartok - The E-Boss
Dartok awaits us as the main boss in Area E. The fight against Dartok is relatively straightforward. Ensure your party is buffed with appropriate songs, including Honor March, three attack songs, and Blade Madrigal. The Red Mage should handle haste duties. Avoid water and darkness damage, as these skill chains are ineffective against Dartok. Mix up your weapon skills with the Liberator, utilizing upheaval, black halo, and savage blade. Beware of Dartok's poison move and have a White Mage use Divine Caress to remove it from the entire party. Stay focused, and Dartok will fall.
↖ Naraka - Obtaining the Metal in Area G
Moving on to Area G, we encounter Naraka, another mini NM. Acquiring the metal from Naraka is essential to counter the curse it inflicts during the Tribulate fight. There are no special requirements to obtain the metal; simply defeat Naraka. However, be cautious of Naraka's disruptive moves, such as Dispel. Assign a player to flat blade duty to neutralize these attacks promptly. Aim to initiate a three-step skill chain with upheaval, black halo, and torque cleaver to maximize damage output. Dispatch Naraka swiftly to secure the metal.
↖ Tribulate - Overcoming the Challenging Boss in Area G
Tribulate is our next adversary in Area G. While this boss used to be despised, our strategy focuses on effective kiting to minimize the encounter's difficulty. Buff your party with Minuets, Honor March, Blade Madrigal, and Distract III. Apply debuffs such as Dia III, Light Shot, Armor Break, and Box Steps to weaken Tribulate. Unlike the basement's other bosses, Tribulate does not have a procking mechanism. Adjust your weapon skills accordingly, utilizing black halos, savage blades, and upheavals. Be cautious of Tribulate's pylons and avoid their effects. Spread out and maintain maximum melee distance from the boss to minimize damage. Adapt this kiting approach, and Tribulate will be overcome.
Most Popular Posts
- Final Fantasy XI Obtaining the Teleport-Mea Scroll Guides
- Final Fantasy XI Obtaining Powerful Teleport-Holla Spell Guides
- Final Fantasy XI Ranking Expansions Tier List 2023
- FF11 Gil Guide: Maximizing Frming Final Fantasy XI in Reisenjima
- Final Fantasy XI Efficient Isgebind Heart Farming Guides
- FFXI Farming Gil with Tomberry Items Thief's Knife Guides
Popular Category Lists
- Path of Exile / (873)
- Diablo IV / (702)
- Runescape / (344)
- New World / (172)
- WoW Classic SoD / (171)
- Guild Wars 2 / (159)
- Elder Scrolls Online / (138)
- FFXIV / (135)
- World of Warcraft / (65)
- WOW Classic / (43)
- Elden Ring / (40)
- Throne and Liberty / (36)
- SWTOR / (35)
- Albion / (35)
- Last Epoch / (32)
- League of Legends / (30)
- Dark and Darker / (28)
- Fallout 76 / (27)
- WotLK Classic / (23)
- Genshin Impact / (22)