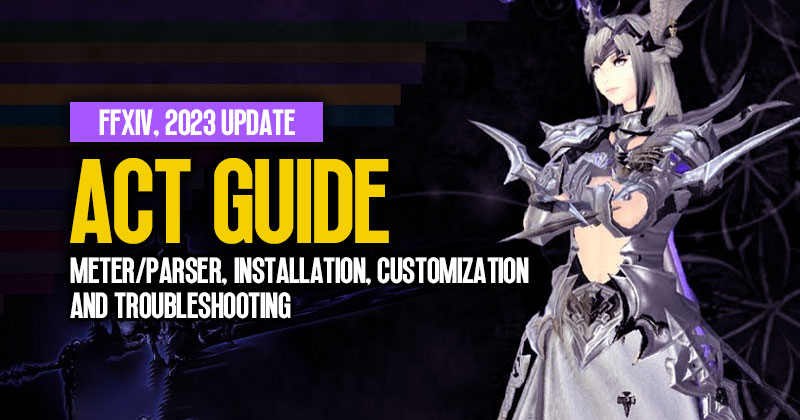
FFXIV ACT Guide: Meter/Parser, Installation, Customization, and Troubleshooting | 2023 Update
In this guide, we will you through the advanced combat tracker (ACT) for Final Fantasy XIV. This tool has been widely used by players to measure their performance and improve their gameplay. In this guide, We will provide you with an update on the installation process of ACT and introduce a new plugin skin called Ember Overlay.
- ACT Setup & Troubleshooting
- Ember Overlay (Skin)
- MopiMopi (Skin) Setup
- Other ACT Mods
- Skill Display Guide

Notes: Please be aware that using third-party software like ACT is technically against the terms of service for FFXIV. While many players use it without issue, there is a small risk of being banned. Use it responsibly, and do not use it to harm other players' experiences.
↖ ACT Setup & Troubleshooting
Advanced Combat Tracker (ACT) is a popular tool used by many gamers, particularly streamers, to track their DPS (damage per second) and analyze combat data in games like Final Fantasy 14. However, using ACT in fullscreen mode can be challenging, but with some additional tools and settings, you can make it work seamlessly. The Following will walk you through the process of using ACT in fullscreen mode and enhancing its sharpness.
- Download the ACT application file from the official website and install it as an administrator. Make sure Final Fantasy XIV is already running.
- Choose the installation folder for ACT. It's recommended to create a dedicated folder within the Final Fantasy XIV installation path.
- Set ACT to always run as an administrator by right-clicking on the application or shortcut, selecting "Properties," navigating to "Compatibility," and checking the box for "Run this program as an administrator."
- Open ACT and go to the parsing plugin section. Click on "Download" to get the required files for the Final Fantasy XIV plugin.
- After downloading, click "OK," "Next," and "Yes" to complete the installation. Enable the option to auto load recently changed log files.
- Go to the plugin section and click on the "Get Plugins" button to access the available ACT plugins. Download and initialize the Overlay Plugin (number 86).
↖ Ember Overlay (Skin)
Ember Overlay is a highly customizable skin that provides detailed and clean-looking information. To customize this skin, click on the settings wheel and adjust the size, font, and other UI elements according to your preferences. The overlay can be dragged, resized, or minimized by clicking on the dots. If you prefer a simpler interface, switch to the MopiMopi overlay.
- Click on the Overlay Plugin tab below the main menu in ACT.
- Navigate to the "Create New Overlay" button and select the skin called "Amber Overlay." This is highly detailed and clean-looking skin. Give it a name to avoid confusion if you use multiple skins.
- Firewall exceptions are usually automatically created, but if you encounter issues with combat data, follow the steps shown on the screen and add rules for ACT in your firewall settings.
- Test if combat data is being received. If you don't receive any combat numbers, check the troubleshooting steps and ensure the FFXIV ACT plugin's "Inject" and "Use Dacian for network data" options are enabled. If the issue persists, there might be a delay in updating the plugin after a major Final Fantasy XIV patch.
↖ MopiMopi (Skin) Setup
- Switch the language of MopiMopi to English if you need to be fluent in Japanese. Click on "English" on the main window during startup.
- Go to "Management Tools" and insert the provided code (found in the description) by copying and pasting it into MopiMopi. Ensure ACT is in focus when pasting the code.
- Navigate to the "Design" section and click on "Raid Mode." Activate the option for combat data when playing solo. The window will transform once combat data is received.
- Customize settings for scaling and visibility to your preference.
↖ Other ACT Mods
For a more native Final Fantasy XIV UI experience, check out the browsing wave plugin and how it can enhance your g-sync or full-screen experience while using ACT. Please note that this may require additional effort and can be problematic, so use it with caution.
↖ Skill Display Guide
Here we will walk you through the installation and customization process for Advanced Combat Tracker (ACT) and its skill display feature for Final Fantasy XIV (FFXIV).
Installation:
- Locate the folder where you have installed ACT on your PC. This is typically the "Advanced Combat Tracker" folder.
- Download the latest release version of ACT WebSocket. You can find the download link in the description of this guide or manually search for it. Look for the newest release and download the zip file.
- Once downloaded, navigate to your Downloads folder. Right-click on the extracted zip folder, go to Properties and check the "Unblock" box. Click Apply and OK.
- Extract the files using software like 7-Zip. Choose the directory where you installed ACT. Click OK.
- Run ACT as an administrator. Right-click on the ACT executable file, go to Properties, click on the Compatibility tab, and check the box that says, "Run this program as an administrator." Click Apply and OK.
- Start ACT and go to the Plugins section. Browse for the WebSocket plugin you extracted earlier. Select the "Advanced Combat Tracker WebSocket.dll" file and double-click it to enable the plugin.
- In ACT, navigate to the WebSocket tab. Here, you will need a URL for the skill display. Search for "Skill Display Final Fantasy 14" on Google, or use the link provided in the guide description. Copy the URL for the skill display you prefer.
- Go back to ACT and click on the "Add URL" button. Paste the URL you copied into the URL field. This will add the skill display to your plugins.
- Close all windows and start ACT. Make sure always to run it as an administrator.
- After starting ACT, you need to start and stop the OverlayProc. This will establish the connection between the skill display plugin and the server—Double-click on the skill display plugin to open its settings. If everything is working correctly, you should see three lines indicating a successful connection.
- Switch areas in the game to ensure the skill display is properly activated. Sometimes, the display may only show once you change areas.
Customization:
- Open the OverlayProc Manager in ACT whenever you want to customize the skill display. This allows you to change various settings.
- To adjust the size of the job icons, go to the Current Rotation tab. Use the zoom feature to increase or decrease the size of the icons. Find a size that suits your preference.
- If you want to use a custom background picture, create a URL for the image and copy it. In the OverlayProc Manager, navigate to the Preferences tab. Uncheck the "Draggable" option and click Apply. Paste the image URL into the Image URL field. Click Apply to set the background picture.
- To hide the skill display when not focused on Final Fantasy XIV, check the "Auto-hide" box and enter the X file path of the game. You can find the X file path by opening the Task Manager and locating the Final Fantasy XIV process.
- Adjust the position and size of the skill display to your liking. Find a spot that does not obstruct your view but still provides useful information.
- Test the skill display in an actual fight to ensure it shows the hierarchy of skills correctly and works smoothly.
Closing Thoughts
We hope this guide helps you with your ACT setup. If you encounter any issues or have questions, leave a comment or visit the ACT Discord server for further assistance. Thank you for watching, and special thanks to the developers of ACT. Happy parsing, and until next time, stay safe and healthy!
Most Popular Posts
- FFXIV Endwalker Patch 6.4 Tier List: Meta Placement & Job Rankings
- FFXIV Patch 6.4 Island Sanctuary Rank 16 Rewards: Glamour, Mounts, and New Buildings
- FFXIV Patch 6.4 Update: Level 90 Gear Progression Guide
- Top 10 Epic Samurai Weapons: How to obtain them in FFXIV?
- FFXIV Containment Bay Z1T9: Zurvan (Unreal) Fight Guide
- FFXIV Patch 6.51 New Exquisite Tomestone Weapons Guide
Popular Category Lists
- Path of Exile / (873)
- Diablo IV / (702)
- Runescape / (344)
- New World / (172)
- WoW Classic SoD / (171)
- Guild Wars 2 / (159)
- Elder Scrolls Online / (138)
- FFXIV / (135)
- World of Warcraft / (65)
- WOW Classic / (43)
- Elden Ring / (40)
- Throne and Liberty / (36)
- SWTOR / (35)
- Albion / (35)
- Last Epoch / (32)
- League of Legends / (30)
- Dark and Darker / (28)
- Fallout 76 / (27)
- WotLK Classic / (23)
- Genshin Impact / (22)


 0
0


